
The best part about a French macaron? They are gluten free; perfect for my mommy. Oh and because of the color/flavor combos, they are lovely on a dessert table.
They were supposed to be finished with the recipe up by Saturday morning, but...I got behind, heck I just stayed behind. I made a plain version Saturday night, but they were lack luster. I couldn't remember my normal recipe so I used another one from Martha Stewart. Maybe it was the recipe, maybe my egg whites sat out too long or not long enough. Whatever the reason, they were all wrong. Not pretty. (They still tasted good though.)
So, I got up on Mother's day and whipped up a chocolate version once I found my original recipe scribbled on a sticky note (I also believe I first found this on Martha's site, but I can't find them now). Perfection! Smooth tops, airy and chewy centers. LOVE!
But the first time I ever made these was not exactly perfection. I tried to make shortcuts in the process, hoping to cut down on what I felt was idle wait time. Now that I understand what happens when you make shortcuts with these cookies I can share it with you.
Macaron Recipe: Yields about 18 cookie sandwiches
3/4 cup of almond flour (finely ground almonds)
1 cup of powdered sugar
2 large egg whites
pinch of salt
pinch of cream of tartar
3 tablespoons to 1/4 cup granulated sugar (I use more when making chocolate ones.)
For chocolate ones, use 1/2 cup of almond flour with 3 Tablespoons of cocoa powder
Let your egg whites sit out for several hours or overnight at room temperature to thicken. My patisserie pastry books say this is how it's been done for years. Not comfortable with it then use pasteurized egg whites (meringue and egg white powder is often pasteurized). Then put them into mixing bowl with the salt and the tartar and begin beating on medium/high speed. Slowly add your granulated sugar. Beat until STIFF peaks form. I say stiff because if you only do medium peaks then you have less room for error when you fold them with your almond mixture. Add any color you like when the whites are stiffened.

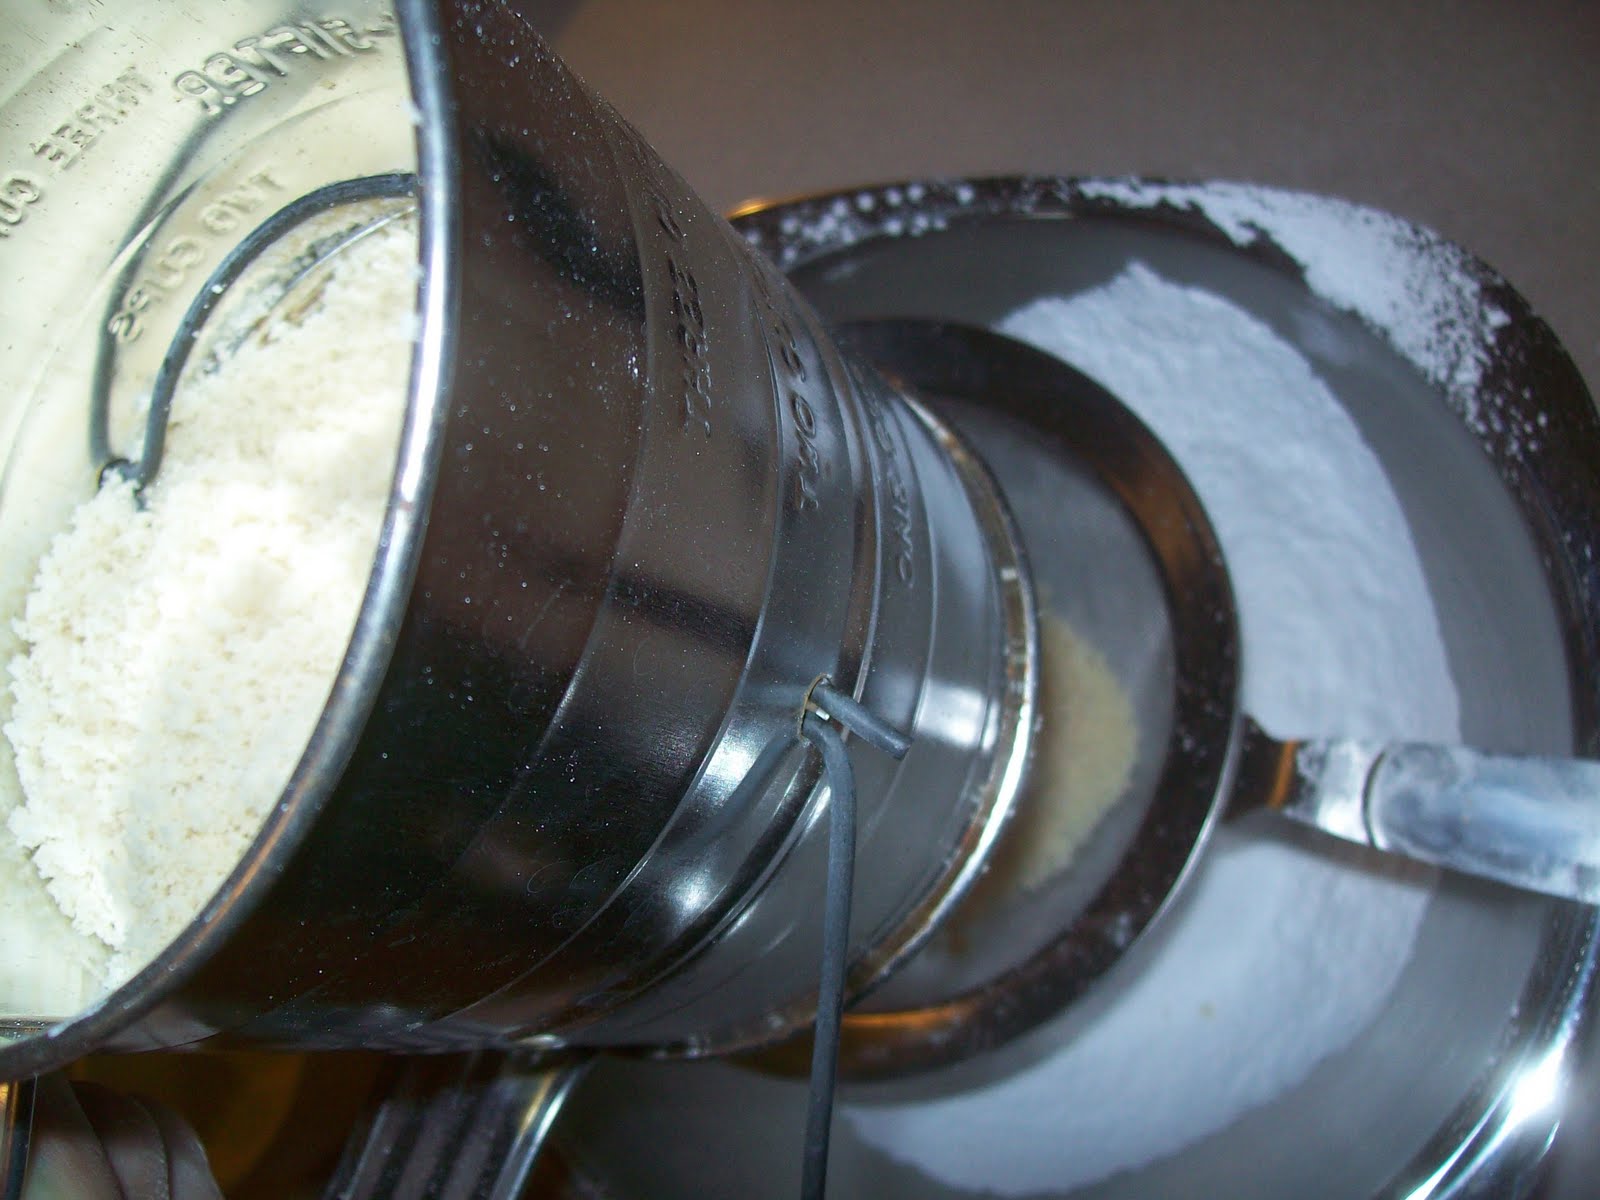 |
| Attempting to double sift. Bottom sifter is too fine for almonds though. |
 |
| Dump this. |

 |
| Uniformly mixed. |


If your batter isn't spreading, you may have been too delicate in the folding process. Squish up your bag a bit.
After all your cookies are piped, let them sit at room temperature for another 20-30 minutes. This is imperative for successful, beautiful cookies. It allows them to form a skin on the top which keeps the shape of the perfect dome when they bake. Not doing so, as I've found, makes a tastey cookie, but not a dessert table worthy cookie. See pictures below...
 |
| Lemon with lemon curd, chocolate with mint buttercream, vanilla with vanilla buttercream, raspberry with chocolate ganache. |
 |
| Whoops! Inappropriately spaced! After baking and cooling for 2 minutes, cut with a knife. Don't cut your silicone though! The footings spread too much too. |
 |
| Almost enough skin but you can see where it wasn't fully formed, hence the creased look. |
 |
| Baked perfect. Nice footings seen at the bottom. |
 |
| Dope! Stuck, and not evne a knife got them up. |

 |
| What they should look like underneath. |


Another note:
Almond flour isn't available at most local grociers. I get mine from a CoOp. It's not cheap. About $13.50 for a 1 pound bag. Alternatively, you can buy blanched slivered almonds in bulk and run them through the food processer until they are fine. Almonds can be a bit wet so you may need to spread the flour on covered cookie sheets to dry in a humid free room or bake them at a low temperature oven for just a few minutes. Bake the flour too long and you'll have toasted almond flour. I was short on time and counter space so I didn't do this. ~Side bar: soon, God willing, I'll have a big kitchen with a double oven and plenty of storage for all my baking and cooking items. YAY!
The macarons freeze well. Done it plenty of times. I keep uneaten portions in the fridge too, sealed in a container.
Presentation Options:
You can put lollipop sticks in between the filling of the cookies as long as it's a thicker, stronger filling. If your filling is sturdier when refridgerated, just put the sticks in at room temp and pop in the freezer for a few. I also piped butter cream rosettes onto the blue ones so they would look neat from the side. But they looked so lovely like that you most certainly could serve them that way, especially if you didn't like how you batch looked.


Don't let the grandeur of these petite cookies get in the way of your desire for them. They aren't that hard and most everyone loves them. Especially people who eat gluten free.
No comments:
Post a Comment