Tuesday, July 3, 2012

Gardening: Fourth time's a charm

Last summer we had a little garden planted in our back yard.  It did ok pretty bad.  We really didn't get much food from it.  In fact, our squash and zucchini were taken over almost immediately by evil squash bugs.  Nothing we did seemed to help.  Evil, I tell you! But we chalked up most of our failures to the fact that we had planted late (not to the fact that we had no idea what we were doing.)

This year we started our seeds indoors in these cute little plastic planters, like the ones that your get your small plants in from Wal-Mart.  They looked slighly pathetic, but hey, they were sprouting!  Since we both have (over) educated backgrounds we thought we could increase the size of the garden by 12x4 feet or so and have all these amazing vegetables.   Naturally, we would do organic to be environmentally friendly, blah, blah, blah.  It sounds good, until you realize the work involved.  More on that later.

One sunny April day I went out and planted all our little seedlings.  I watered them, some. But, uh, they didn't make it.  I tried again with seeds directly in the ground. Nothing for a week or so.  I got ancy and tried again.  ~Look, it's obvious I'm not great at this.  My biology background is in molecular work, not horticulture.~  In other words, no those seedlings didn't pop up either.  But if you want me to extract DNA and sequence it, I'm there.

However, after reading some literature on how to plant certain plants together to assist in pest control, I tried one last time.  It worked!  (I think God took pity on my persistance.)  The amusing part?  Some of the plants that I'd planted before popped up too.  So I have a few rogue tomato plants, broccoli in my cucumber patch, and some diverged carrots and lettuces.  But hey, they're there!


The important thing is, I can grow things! And so can you. (Probably much better than myself.)

Tuesday, June 26, 2012

The difference a year makes...

A year ago I was an unfulfilled housewife.  Being at home was a burden not a blessing.  I longed to do more, for people to know I was smart and be fulfilled in some way.  So I got a job.  But almost immediately I realized that it wasn't very fulfilling.  I didn't feel challenged or rewarded in my new position.  The hours were so different from my husband's work schedule that eventually, we only saw each for a couple of hours in the evening.  Even then it was only to eat together and then to go to bed.  Slowly, we stopped reading the Bible together at night.  We stopped taking weekend trips.  I stopped running.  I barely slept.  I was exhausted and I missed my husband.  Then my sweet hubby came home with a marriage seminar DVD by Chip Ingram.  By the end of it, I realized my job hadn't fulfilled me and it never would.  This was not my dream.  Worse, if I kept going at this pace, I was liable to ruin my marriage.  I realized that many women would love to be able to stay at home. I realized staying at home and supporting my husband might go against all the new age feminism that surrounds us today, but for us it could be right.  Jobs end, family lasts forever.  So I quit.  

But I knew with my personality, I couldn't just sit around all day.  I'd need to be challenged and have tasks for myself.  Which led me to starting a big organic vegetable garden.  Then I beefed up my cake making.  All in addition to keeping house, making all our meals, and DIY home decor projects.  Oh, and my new hobby of knitting.  I have to say, it feels amazing so far!  I'm still busy beyond belief, but we finally have time to do date nights, go to the lake and the family cabin, and, gratefully, sleep! So, I'll be blogging more. I'm going to have posts from my adventures in gardening, new recipes and cooking techniques, and some general life trials and errors.  Get ready world! I'm back, and saucier than ever!

Friday, August 26, 2011

After School Activity {Helpful Cookie Tip}

It can be really hard to get a few moments by yourself after the kids get home from school to get dinner going.  Anyone who's been in the room with a child knows that, but especially parents.  But I have a sweet solution to help out once or twice a week.

Cookies!


Well, not these particular ones. 


But why not let your little ones sit down at the kitchen table, where you can keep an eye on them without having to hover, and decorate their own cookies?  It should give you those 30 minutes after work and school for you to get dinner going.

The kids will love it and you will too.  Almost no screaming guaranteed!

Here's how to make it easy on yourself:

1.  On a day you have time, say, the weekend the kids are visiting Nana.  Make up your favortie sugar cookie recipe.  Or cheat, because who's gonna tattle on you--the kids are gone! - and buy the pre-made dough.  Resist the temptation to eat them.  It will be difficult, as stated before, no one will tell on you. 

2.  After the cookies are cooled, freeze the cookie shapes in a plastic container, separated by sheets of wax paper.

3.  Up to a week in advance, make some glaze icing and store it in the fridge, covered.  Again, you could buy the store bought kind of cookie decorator icing or if like me, you have buttercream already frozen too.

4.  Then, when the kids come home (and of course have done their chores and their homework because kids always do what their told), pull out a couple of cookies for each child from the freezer.  You could also pull them out the morning of the activity before you rush out the door.  That is, if you can remember to make Suzy put on shoes, Tommy to stop being grouchy and screaming he doesn't care if his teeth fall out, he's not brushing, and you to have actually taken the curlers out of your hair.

5.  Pour the icing into decorationg bags with tips or snip off the edges of Ziploc bags.  Put some sprinkles in separate little bowls.  You don't want those dirty kid fingers in the big containers of sprinkles.  They pick their noses with those fingers.

6.  Tell them to go to town decorating! On wax paper of course. 

7.  Make dinner without crying over the fact that the kids are doing something without you.  Praise God!

While you are eating dinner with the family the cookies can "dry" and then everyone can eat one for dessert. 
Voila! 

It works.  I know.  I've tried.  I always save the broken ones (and a few nice ones too) for the niece to decorate.  She gets the biggest kick out of this.  (You can do the same with mini-cupcakes too!  They also freeze!) 

Hope your day is delicious with this cute tip!


Thursday, August 18, 2011

Updates and Wooden Letter Crafts

It's been a busy month.  I say that, but then when I look back I think I haven't been busy enough.  Most notably, I haven't written much on here.  I thought it time to update everyone on how life has been going lately.  Or rather, how lost I still am and how much my oven has been burning with all the desserts that I've been baking.

We almost have everything unpacked from the big move.  The first thing I unpacked, naturally, was the baking utensils.  It's truly sad how much of the cabinets I'm occupying with stuff dedicated only to cakes.  We still have some trinkets and personal touches that need a home, but otherwise we have begun to make this our home.  It feels enormous; much bigger than necessary for two people.  I suppose that will change one day and then it might actually be too small.

I quit the lab finally.  Right before the move.  It was an intense decision with many rationalizations affecting the course.  Most of them were due to inapporopriate actions or words spoken to me; everything else was just, may I say, icing on the cake.  I really had no other choice in the end.  Regardless, I cried.  A lot.  There's still turmoil in how to handle other aspects of that decision.  When it really gets to me, I make sugar cookies.  Again, a lot.

I still have no direction on what to do next. Which path will lead to the most happiness?  What will help others more?  What is it that God wants me to do?  How will I know?  Decifering my destiny is like trying to figure out if a cheesecake is done without opening the oven door.  It's a guessing game really.

A rather depressing one at times.  However, there are lots of possiblities and that makes me smile.  I've also had extra time to do those crafty projects I've always been jealous of others being able to complete.  One of those I'd like to share with you.

I love the new craze using wooden letters as wall decor.  Lots of people are doing them in baby rooms.  Like this one done by Kendra Townsely McGaugh.  She sells these by the way.  Contact me if you need info.


Adorable, right?  They can be on the expensive side if you have lots of letters to do.  About 10 bucks a letter if you get the big wood ones.  I managed to catch Hobby Lobby on a sale day though and I found some already painted and made of particle wood.  Less work for me and lighter and easier to hang on the wall.

Grabbing my hot glue gun, my 50% off ribbon and letters, plus some touch up paint, I got to work.


I cut the ribbon all about 7 inches long while heating up the glue gun.  Then I just dolloped a bit of glue on the back of each letter and attched the ribbon.  On the bigger letters, like the "W", it would have been helpful to have 8 inches of ribbon to insure that all the letters had the same size of ribbon overhang.  Oh well.

When my husband came home he put a little nail in the wall and I stood back telling him the appropriate spacing.  It was that easy! 

Want to make yours more unique?  Grab some scrapbook paper, decoupage glue, and acrylic paint and go to town!  It's a really neat way to add interest to your walls without putting aonther picture on the wall.

I'll show you the cute rosettes and hair pins I made later.  Really adorable!

Tuesday, July 26, 2011

Mini Dessert Table

Life has been crazy lately.  We moved and didn't have the Internet for a bit.  Then there has been all that unpacking.  Do these boxes never end?!  But I've missed posting.  I have so much to share! 

So for today, to get back into the swing of things, I thought I would share some pictures from the mini dessert table I did for the opening of a new salon, Blonde and Brunette.  The owners had asked for lots of cupcakes with a few sugar cookies on the side.  Sticking with their colors of lime green and funky purple I did a dessert table that would not take the center stage away from the ladies newly remodeled salon.  I kept it girly, but still fun.  This is the result.


It was a great time.  Thanks for stopping by and I hope to have many more posts up soon.

Tuesday, June 14, 2011

First Dessert Table

Well I'm sure the title is self explanatory.  I did this as a favor to for my husband's friends.  He asked if I could do it on a Friday night and I thought about it until Sunday.  Then I worked at the lab Monday and Tuesday all day.  So when I got started I had THREE days to pull it off.  It wasn't easy and I wouldn't have accomplished it if not for some crafty help from Miss Putt and emergency powdered sugar from my bestie.  Oh, and my sweet mommy who gave me the table and the cloth. 

I wanted lots of goodies to appeal to everyone there.  I made sure to lay an assortment out.  Even something salty for those who don't like sweets. 

Matthew's friend, Aaron Carter, took all the photos.  He also holds the copywrite, so ask before you pull them!

The paper cupcakes were made using a Cricut. 

I hope you enjoy the pics!  Let me know what you think! 

Oh, and we will be moving this week, say a prayer.

I took this one.


I took this too.  Orange slices below.

I think his photos are amazing.  Wish I was that good!
I'll be posting some more recipes for some of the desserts I used.  I also did another mini-table this weekend and I'll get those up soon too.  (As soon as I have a computer in the new house.)

Have a delicious day!

Thursday, June 9, 2011

Pink Anenome~A crisis

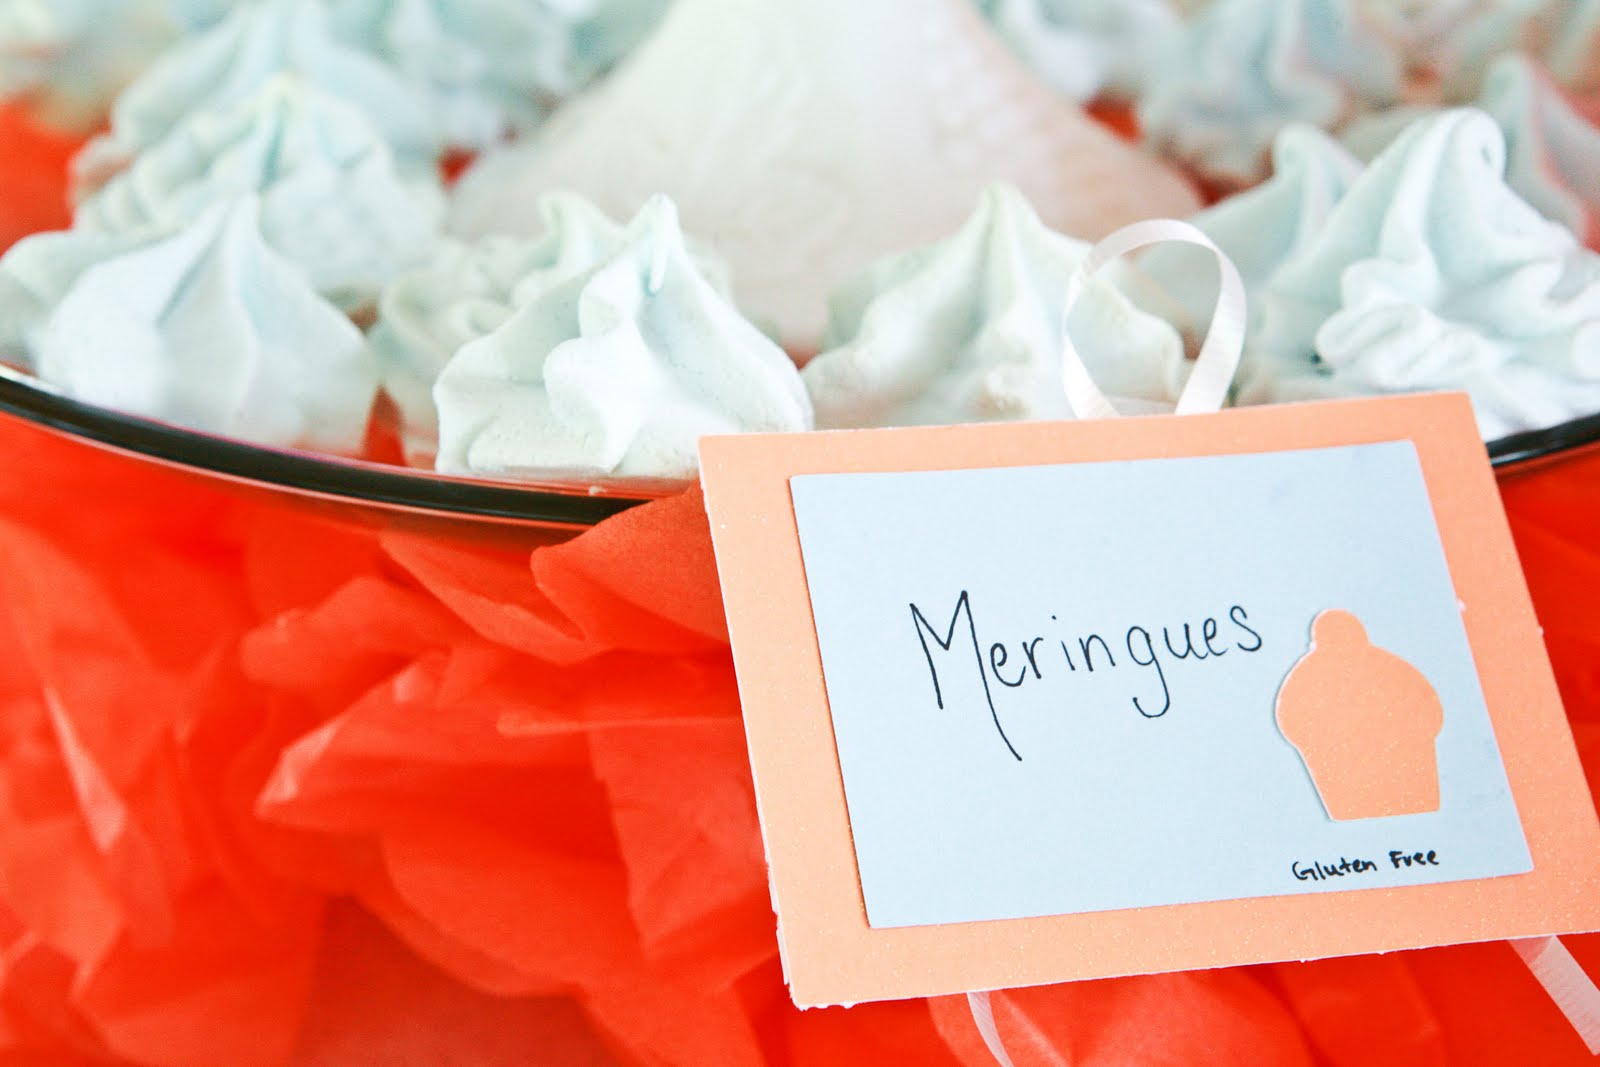
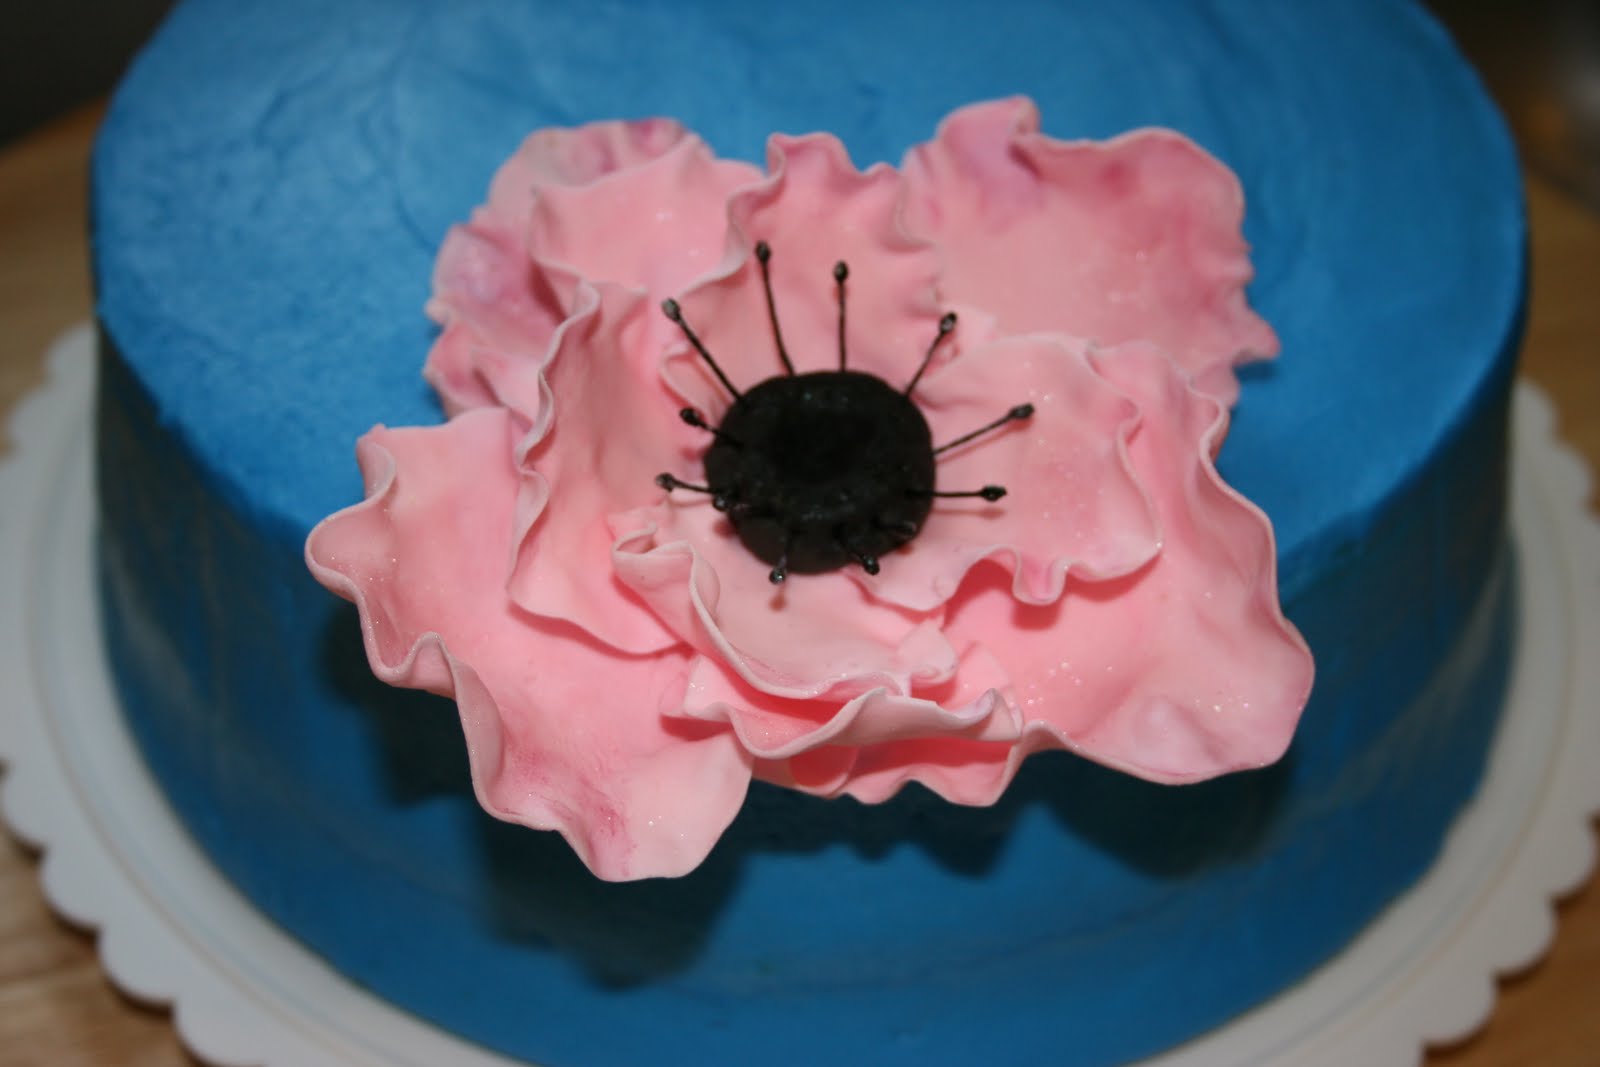
Recently I had an old friend call me up and ask me if I could make a bridal shower cake for her best friend.  Of course I jumped on the opportunity.  She requested my Butter Nut cake with blue frosting and a pink anemone flower accompanied by 12 strawberry cupcakes. 

Quite honestly, I had never made an anemone specifically, though I have made flowers.  I looked forward to the challenge though.  Since it was over two weeks away, I thought I would make it in advance in case I needed practice.  I watched several different video tutorials first.  Then I gathered all my supplies, including a new gum paste mix I had just ordered.  I was really excited to try it out.  Just add water, how nice is that! 
The mix comes in black, red, white, and chocolate.  Isn't that lovely?  I mixed it up per the instructions and add a smidgen of pink gel food coloring.  Then I rolled it out pretty thin and cut it with small cookie cutters.  I only cut a couple of circles at a time to ensure it didn't dry out while I worked with it. 


I thinned the edges with a ball tool and put it in my very expensive flower former to dry a bit.  What?  You say that looks like an egg carton covered in tin foil?  Yes, well, I like to reduce costs when possible and recycle to save trees.  Flower formers aren't as important to me as things like tasty gum paste. 

After all the pieces had dried for a few hours I realized I hadn't left a pink circle to adhere the new petals to.  Whoops!  So I mixed up some black gum paste I would need for the flower center and cut a small circle.  (More on the awesome-ness of the black gum paste later.  Flexible royal icing anyone? Yeah, you wanna know!)

Using an equal mix of meringue powder and water as glue, I slowly adhered the petals to the black circle base.  I also inserted a clothe covered wire into the center so I would be able to place it on the side of the cake more easily.  After the center of the flower was glued on, I hand painted some white flower pistols black to make it appear more life like.  Next, my favorite part, I lightly painted on some dry luster dust to give some sparkle.  I love me some glitter!  I took some quick pictures and then let it dry. 
I was rather pleased.  It looked pretty.  I wanted to make some extras but I'd used all the pink gum paste I'd made.  The flower was so grand, it would suffice alone.  I could always make more later in the week.  I had plenty of time.  If only I had known then....

Shortly after, my husband asked me to do a dessert table for someone he knew, and I would need to do it all in three days!  It was an insane under taking, but I wanted the opportunity to network with other individuals so I couldn't pass it up.  But now I wouldn't have time for more flowers.  No biggie, I had already made the cake and frozen it.  I would just use the extra cupcakes from the bridal shower for the dessert table.  Easy again.  Piece of cake.  Speaking of cake, the church called.  We'd recently paid off our mortgage and we wanted to celebrate with a cake.  Could I make one in two days for about 100 people?  Of course.  How flattering you would even ask me!  Completely doable, or....

Not.  I did the whole dessert table and was still conscious on less than two hours of sleep in over two days.  Still needed to go home from that gig, and add the flower to the frosted cake.  Next I'd bake the church cake and frost it up.  No problem.  I pull the well dried anemone out.  I flipped it over and prepared the place it on the cake I where it.  That's when I noticed a teeny bit of wire exposed.  Can't have that, so I went spin some floral tape on it.  Can you see it coming?  Yeah, when I went to pick up the flower by the wire I discovered that it wasn't so secure.  The flower plummeted from the wire and onto the counter.  I was afraid it would land on the floor so with my Superman-like speed, I smashed it onto the counter space, cracking three petals off.  "NOOOOOO!!!!  WHY ME?  NO!"  I started shaking and practically hyperventilating.  My friend was literally on her way to get the cake.  This could not be my life! 

After my five minute meltdown, I realized this is life and it is my life.  I better toughen up.  This is why you make extras, because in the long run, it saves you time and heart attacks.  You can always use extra gum paste flowers.  They last for weeks.  But now what to do?  I can't place the flower on the side, so the top will have to do.  I don't have time to make more gum paste.  So I quickly dyed some buttercream pink that I had made the night before.  Carefully, I put the flower on the top side with a dollop of buttercream underneath.  Then I added the broken petals in discrete places to hide the jagged edges using the pink buttercream as glue.  I filled in any cracks with the buttercream and hoped it still looked pretty.  I'm not gonna lie, I was still on the verge of tears.
When my friend arrived, I told her.  Apologized.  And asked if she still wanted it.  She said she couldn't even tell it was messed up.  She loved it.  I hoped it tasted half as good as it looked.  Later that evening, as I made extra buttercream "just in case" for the church cake, she texted me the photo below and said, "It tasted amazing!"

All I can say is praise God.  Now time to do the church cake...