Showing posts with label cookies. Show all posts

Friday, August 26, 2011

After School Activity {Helpful Cookie Tip}

It can be really hard to get a few moments by yourself after the kids get home from school to get dinner going.  Anyone who's been in the room with a child knows that, but especially parents.  But I have a sweet solution to help out once or twice a week.

Cookies!


Well, not these particular ones. 


But why not let your little ones sit down at the kitchen table, where you can keep an eye on them without having to hover, and decorate their own cookies?  It should give you those 30 minutes after work and school for you to get dinner going.

The kids will love it and you will too.  Almost no screaming guaranteed!

Here's how to make it easy on yourself:

1.  On a day you have time, say, the weekend the kids are visiting Nana.  Make up your favortie sugar cookie recipe.  Or cheat, because who's gonna tattle on you--the kids are gone! - and buy the pre-made dough.  Resist the temptation to eat them.  It will be difficult, as stated before, no one will tell on you. 

2.  After the cookies are cooled, freeze the cookie shapes in a plastic container, separated by sheets of wax paper.

3.  Up to a week in advance, make some glaze icing and store it in the fridge, covered.  Again, you could buy the store bought kind of cookie decorator icing or if like me, you have buttercream already frozen too.

4.  Then, when the kids come home (and of course have done their chores and their homework because kids always do what their told), pull out a couple of cookies for each child from the freezer.  You could also pull them out the morning of the activity before you rush out the door.  That is, if you can remember to make Suzy put on shoes, Tommy to stop being grouchy and screaming he doesn't care if his teeth fall out, he's not brushing, and you to have actually taken the curlers out of your hair.

5.  Pour the icing into decorationg bags with tips or snip off the edges of Ziploc bags.  Put some sprinkles in separate little bowls.  You don't want those dirty kid fingers in the big containers of sprinkles.  They pick their noses with those fingers.

6.  Tell them to go to town decorating! On wax paper of course. 

7.  Make dinner without crying over the fact that the kids are doing something without you.  Praise God!

While you are eating dinner with the family the cookies can "dry" and then everyone can eat one for dessert. 
Voila! 

It works.  I know.  I've tried.  I always save the broken ones (and a few nice ones too) for the niece to decorate.  She gets the biggest kick out of this.  (You can do the same with mini-cupcakes too!  They also freeze!) 

Hope your day is delicious with this cute tip!


Friday, June 3, 2011

Strawberry Sugar Cookies {Recipe}

It's been a crazy couple of weeks here in the South!  So many people's lives have been turned upside down that my problems seem practically insignificant.  Blogging about dessert seems silly when they're are so many suffering.  But then I remembered that dessert can be a release for so many of us.  Trying out new recipes can be a sweet release for many. 

Not only that, but I promised to share my strawberry sugar cookie recipe with everyone.  Plus, I've been baking up a storm lately and I love sharing the pictures!  Last week I did a full dessert table for 80 people in 3 days!  (No, I did not sleep.)  This week, I'm gearing up for moving (it was postponed) and getting things in order for a wedding cake tasting and another dessert table on the 11th. 

So without further ado, I wanted to try making strawberry sugar cookies after the success of the lemon ones.  And in case you couldn't tell, that recipe is so easy to cater to a variety of flavors.  I'm thinking next time I'm going to try cherry.

Ingredients:4 cups of unbleached flour (remember you can trade this out if needed)
1 teaspoon of baking powder
1 cup of butter, softened
1 cup of sugar
2 eggs
1/2 teaspoon of salt
1 box of strawberry cream pudding mix.
1 teaspoon of strawberry extract
*(optional) a dab of pink gel food coloring to make them  a bit pinker
Cream butter and sugar until light and fluffy. Add eggs and strawberry extract, one at a time. Mix well after each addition. Add a dab of food gel color if desired.  See the before and after food color below.
Mix dry ingredients a little at a time to butter mixture. Mix until flour is completely incorporated and the dough comes together.  You can use your clean hand to help incorporate if needed. 

Then roll it out between wax paper as previously mentioned here.  Refrigerate until firm.  I left mine overnight. (This does make the dough edges more crumbly, but I just don't cut my cookies right at the edge until I've remixed and re-rolled it.)   Bake in preheated 350 degree F oven for 8-10 minutes for soft cookies and 11-13 minutes for crisper cookies.*  This makes 2 dozen or so cookies, depending on size.  Keep them chilled, just like I've said before, to keep them from spreading or losing shape.  Your cookies come out PERFECT if you do this.  You may have to pop them in the freezer for 5 minutes after cutting them out if your kitchen is hot; with weather like this lately, almost everyone's is.

*If you are serving your cookies soon, then I recommend closer to the 8 min. mark.  If you are doing them in advance, like a week or two, then make them crisper and they will soften over the week or two in a sealed container on the counter.  If they are too soft they can be more difficult to decorate due to their delicateness. 

I cut some out for a baby girl theme and put those in the freezer to decorate later. 
The others I decorated with a blue and orange theme I was doing for the dessert table along with some vanilla and chocolate ones.  I had a friend of my husbands come and take professional pictures of the table, but I don't have them back yet.  (insert tear drops here)
Plain Jane, simple camera at home about 2am the day of the dessert table.
Fancy Cannon camera (borrowed from my mom) on site at the dessert table.

I really hope you give these cookies a shot.  Make a batch and give them to someone who could use a smile.  You never know how much a delicious gesture can brighten someone else's day.

Monday, May 9, 2011

French Macarons~Gluten Free Recipe

Most Americans are familiar with macaroons.  But the macaroon is not the same as the macaron.  The American version is a cookie sized sweetened coconut cake made, naturally, with plenty of flaked coconut.  They are pretty tasty but they aren't overly pretty.  The French version, however, is made with egg whites and ground nuts, often almonds, and is very pretty.  They can come in any color and unique flavors like lavender, cardamom, citrus, rose, raspberry, and more.  That's not even counting the endless fillings, my favorite being ganache. 

The best part about a French macaron?  They are gluten free; perfect for my mommy.  Oh and because of the color/flavor combos, they are lovely on a dessert table.

They were supposed to be finished with the recipe up by Saturday morning, but...I got behind, heck I just stayed behind.  I made a plain version Saturday night, but they were lack luster.  I couldn't remember my normal recipe so I used another one from Martha Stewart.  Maybe it was the recipe, maybe my egg whites sat out too long or not long enough.  Whatever the reason, they were all wrong. Not pretty.  (They still tasted good though.)

So, I got up on Mother's day and whipped up a chocolate version once I found my original recipe scribbled on a sticky note (I also believe I first found this on Martha's site, but I can't find them now).  Perfection!  Smooth tops, airy and chewy centers.  LOVE! 

But the first time I ever made these was not exactly perfection.  I tried to make shortcuts in the process, hoping to cut down on what I felt was idle wait time.  Now that I understand what happens when you make shortcuts with these cookies I can share it with you.

Macaron Recipe:  Yields about 18 cookie sandwiches
3/4 cup of almond flour (finely ground almonds)
1 cup of powdered sugar
2 large egg whites
pinch of salt
pinch of cream of tartar
3 tablespoons to 1/4 cup granulated sugar (I use more when making chocolate ones.)

For chocolate ones, use 1/2 cup of almond flour with 3 Tablespoons of cocoa powder

Let your egg whites sit out for several hours or overnight at room temperature to thicken.  My patisserie pastry books say this is how it's been done for years.  Not comfortable with it then use pasteurized egg whites (meringue and egg white powder is often pasteurized).  Then put them into mixing bowl with the salt and the tartar and begin beating on medium/high speed.  Slowly add your granulated sugar.  Beat until STIFF peaks form.  I say stiff because if you only do medium peaks then you have less room for error when you fold them with your almond mixture.  Add any color you like when the whites are stiffened.
 
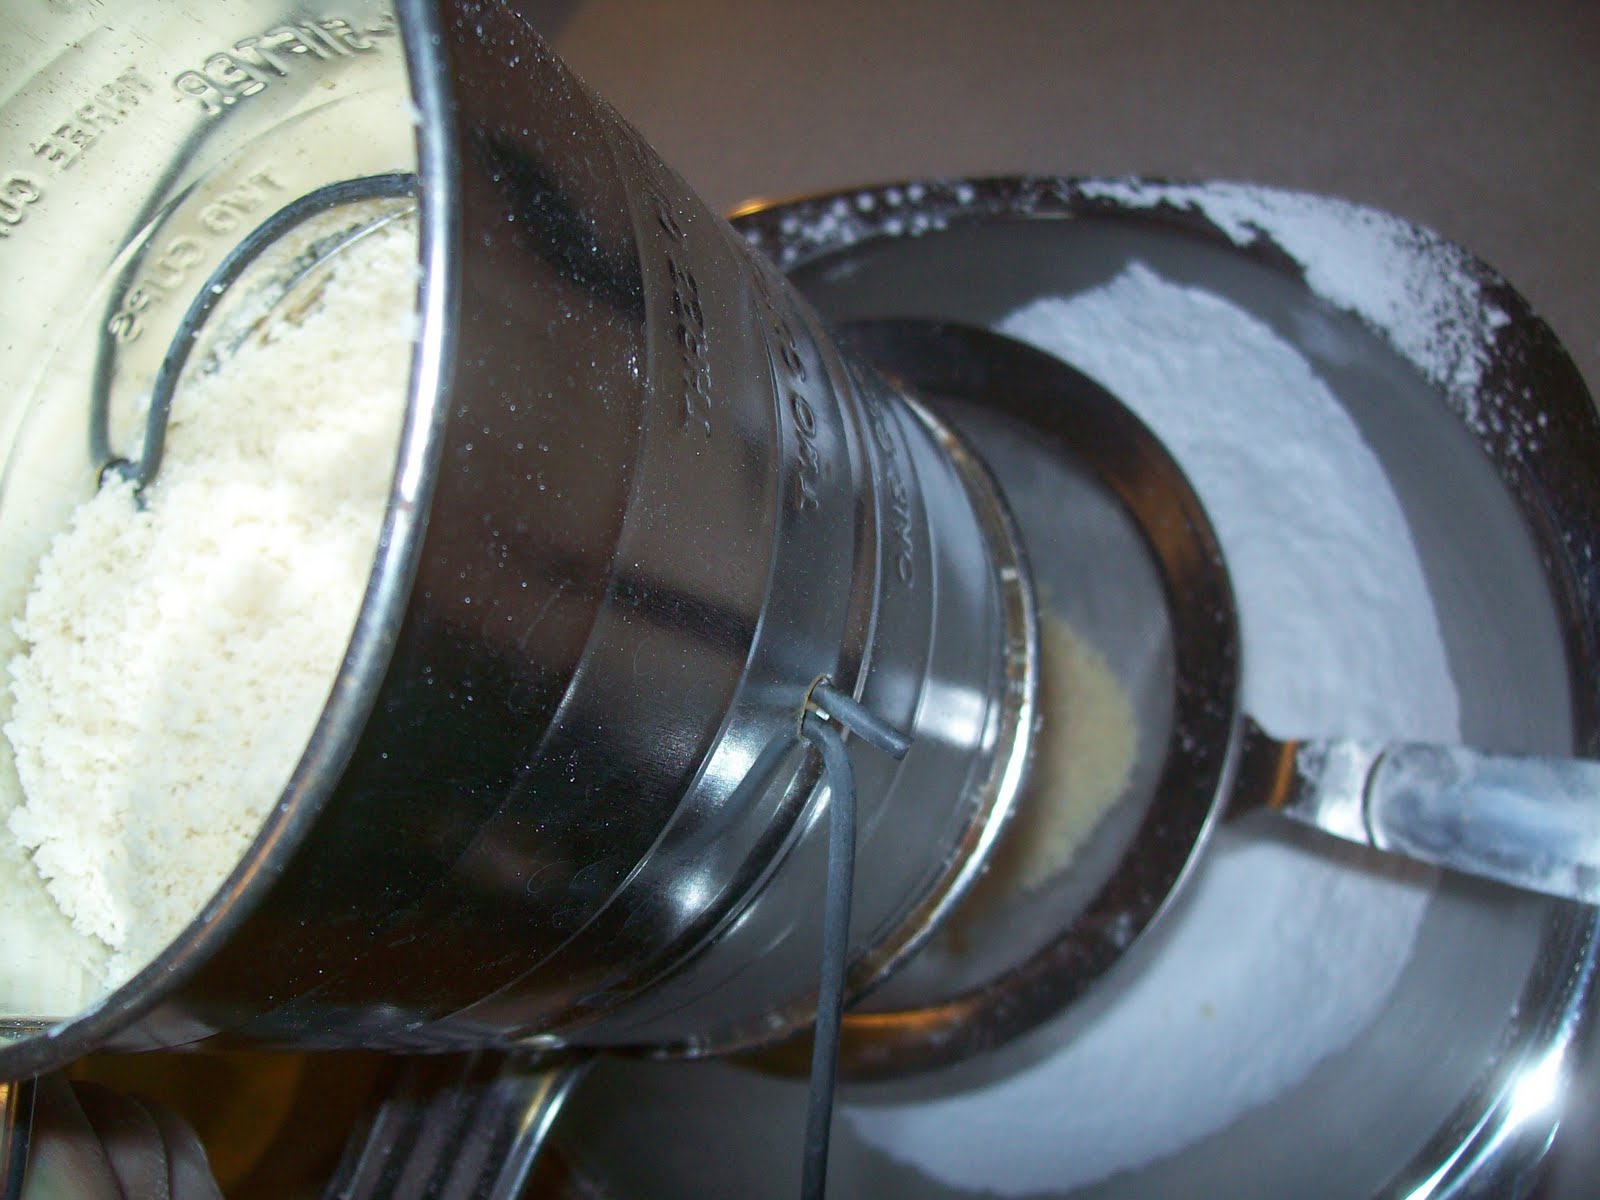
While that is mixing sift your powdered sugar, cocoa, and almonds into a bowl.  Dump any larger bits that don't make it through the sifter into the trash or reserve for something else.  When the egg whites are ready, slowly fold them into your almond mixture until it is uniformly combined. 
Attempting to double sift.  Bottom sifter is too fine for almonds though.
Dump this.

Uniformly mixed.
Fit a pastry bag with a coupler and #10 tip and put the batter into it.  Alternatively, snip the end off of a large freezer bag.  Pipe circles about the size of a quarter onto parchment or silicone mat lined cookie sheets.  I leave my tip in the same spot and just squeze the bag until I reach this point.  The batter spreads as it sits on the sheet so they are bigger than quarter sized.  Space appropriately.

If your batter isn't spreading, you may have been too delicate in the folding process.  Squish up your bag a bit.

After all your cookies are piped, let them sit at room temperature for another 20-30 minutes.  This is imperative for successful, beautiful cookies.  It allows them to form a skin on the top which keeps the shape of the perfect dome when they bake.  Not doing so, as I've found, makes a tastey cookie, but not a dessert table worthy cookie.  See pictures below...
Lemon with lemon curd, chocolate with mint buttercream, vanilla
with vanilla buttercream, raspberry with chocolate ganache.
Whoops!  Inappropriately spaced!  After baking and cooling for
2 minutes, cut with a knife.  Don't cut your silicone though! 
The footings spread too much too.
Almost enough skin but you can see where it wasn't
fully formed, hence the creased look.
 While they are sitting, preheat your oven to 375 degrees F.  When the skins have formed, place one cookie sheet in the upper thirds of the oven and the other one in the lower thirds.  Wait 1 minute and turn the oven down to 325 degrees.  Bake for 5 minutes, rotate cookie sheet positions, and bake 5 minutes more for a total of 10-11 minutes.  Reheat the oven to 375 for each batch that goes in.  Let the cookies cool for 10-20 on the sheets.  I've done less cool time but if you try to pull them off and you can feel resistence or the tops come off and the bottoms don't then likely, you didn't cool them long enough on the hot sheets and the insides are still wet and slightly under-done.  See pics...

Baked perfect.  Nice footings seen at the bottom.
Dope!  Stuck, and not evne a knife got them up.
What they should look like underneath.
Once the macarons are completely cooled you can add your favorite filling.  Just add a dollip or pipe a flower center on there.  I put milk chocolate caramel frosting in my chocolate ones and vanilla buttercream in my plain ones.  Then sandwhich a cookie with a dollip of filling with a similarly sized one without.  BE CAREFUL!  The tops are full of air so they are very delicate.  I typically put the cookies together by swirling one on top of the other with the filling on it.  Just like you would twist off the top of an oreo, to ensure even distribution.  If you smoosh one, give in and eat it immediately. 
 
Remember, the blue plain macarons were a different recipe with more sugar, more eggs and more almond flour.  So they didn't have proper footings (the bottom edges of the cookie) and were still wet after 12 minutes or longer.  This could also be because I didn't let the egg whites sit out long enough.  Still tasty!

Another note:
Almond flour isn't available at most local grociers.  I get mine from a CoOp.  It's not cheap.  About $13.50 for a 1 pound bag.  Alternatively, you can buy blanched slivered almonds in bulk and run them through the food processer until they are fine.  Almonds can be a bit wet so you may need to spread the flour on covered cookie sheets to dry in a humid free room or bake them at a low temperature oven for just a few minutes.  Bake the flour too long and you'll have toasted almond flour.  I was short on time and counter space so I didn't do this.  ~Side bar: soon, God willing, I'll have a big kitchen with a double oven and plenty of storage for all my baking and cooking items.  YAY!

The macarons freeze well.  Done it plenty of times.  I keep uneaten portions in the fridge too, sealed in a container.

Presentation Options:
You can put lollipop sticks in between the filling of the cookies as long as it's a thicker, stronger filling.  If your filling is sturdier when refridgerated, just put the sticks in at room temp and pop in the freezer for a few.  I also piped butter cream rosettes onto the blue ones so they would look neat from the side.  But they looked so lovely like that you most certainly could serve them that way, especially if you didn't like how you batch looked.

Don't let the grandeur of these petite cookies get in the way of your desire for them.  They aren't that hard and most everyone loves them.  Especially people who eat gluten free.

Friday, May 6, 2011

Mother's Day Ideas: Homemade, Vegan, Gluten free

Ah Mother's Day.  Mom's everywhere are look forward to this day each year to get breakfast in bed, chores done without asking, diamond jewlrey, and everyone getting along.  Wait.  I'm not a mom (yet), but I don't think any Mother's Day I've participated in has ever looked like a Norman Rockwell painting.  Does yours? 

Alright then, Mom might want a gold and emerald necklace, but realistically she's gonna get one made of macarooni.  But everytime you did that as a kid she loved it, didn't she?  So with the the economy tight, our wallets tight, and our gas tanks running on empty what are we gonna do?  That's right!  Macarooni necklace! Only, let's take that and make her something else, more, uh, enjoyable.  Here's a list of really awesome ideas:


Make her some sugar cookies.  Even if your decorating skills are lacking, they'll still taste amazing.  Especially if you try the chocolate sugar cookies here.  Spell her name out in them like below.  Then arrange the cookies into a cookie bouquet!  Neat huh?

Bake a loaf of chocolate babka.  This is really great for grandmas.  The word babka means grandmother in the original language.  (Directly it means old woman, but it's used as a term of endearment for grandmas.)  It's hands down the best sweet bread I have ever had.  Mom's not into chocolate?  Make cinnamon sugar filling instead.  This Jewish bread is traditionally served at Passover, but it's good for breafast any day.  Heck, it's just good.  Mom will be greatly impressed by the time and effort you put into making homemade bread.  It's my most requested item at Christmas time.


Make her some French Macarons.  Bonus, they're gluten free.  This is one of the things my mom is getting as she suffers from fibromyalgia and gluten free diets can assist in reducing the inflamation causing the pain.  These are trickier and take some helpful hints, which I will be happy to post shortly.  They have chewy centers and practically melt in your mouth as you eat them.


My mommy and me several years ago.

Make her a cd of all her favorite oldies that she used to jam out to you will when you were a kid.  My mom and I used to have pretend concerts to Heart albums.  I cherish those happy memories.


Create a card from cardstock to tell her how much she means to you.  It's really not difficult and you'll spend less than five bucks doing it if you already have some of the supplies on hand.  So what if it's less than gorgeous. Remember, honey, that macarooni necklace was no work of art either.
(Cards not yet made.  So behind this week!)

Whip up a batch of those scones I posted and package them with some yummy teas in a cute little basket with a decorative mug.  How cute would that be?  And, it's vegan!  It could easily be shipped and overnighted too.  Just saying.


Get her her favorite lotion from Bath and Body Works.  Then buy some flowers at the local farmer's market and arrange them in a vase yourself.  I did this last year for all the moms in my life and it was well recieved.  Wildflowers and daises are the easiest to arrange if you are worried about skill level.  Just snip the ends off and plop them into a vase with water in it.  Dress the vase up with her favorite color ribbon to make it stand out.  Tada! 


Cook her favorite meal.  She did it for you for years now it's your turn to show her you learned a thing or two since back in the day.  She'll appreciate not having to cook her own Mother's Day dinner, I promise.

The possibilites are endless.  Happy Mother's Day to everyone out there.  Make the best of the mom God gave you.  Hope it's a delicious day!

Tuesday, April 26, 2011

Lemon Sugar Cookies {Recipe}

As I've mentioned, I've been fascinated with sugar cookie decoration for some time now.  My addiction to Sweetopia.net has not helped with that.  I've long wanted to try to decorate sugar cookies in flavors other than the traditional vanilla.  Chocolate is naturally the next choice.  It is, after all, superior.  But, oddly, it is not my husband's favorite. 

He has an obsession with citrus.  If he ever offers to make you his mediteranian soup, pass.  It's chocked full of lemon or lime juice.  The acid will melt your teeth off.  Not kidding.  So I attempted to make some lemon sugar cookies, just for him.  Also, it was really the only option I had because we always have citrus flavors on hand.  These would make a lovely Mother's Day cookie option too.  Just saying.  That's not too far off.

Ingredients:
4 cups of unbleached flour (remember you can trade this out if needed)
1 1/2 teaspoons of baking powder
1 cup of butter, softened
1 cup of sugar
2 eggs
1/2 teaspoon of salt
1 box of lemon pudding mix, I think it's about 4oz.
1 teaspoon of pure vanilla or substitute for lemon extract to get extra lemon pizazz
(If you'd like to add a bit of yellow coloring you can, to make them look more lemony.  I did not.)

Cream butter and sugar until light and fluffy. Add eggs and vanilla, one at a time. Mix well after each addition. Mix dry ingredients a little at a time to butter mixture. Mix until flour is completely incorporated and the dough comes together.  You can use your clean hand to help incorporate if needed.  Then roll it out between wax paper as previously mentioned here.  Refrigerate until firm.  I left mine this time for 2 days because I got busy!  Bake in preheated 350 degree F oven for 7 minutes for soft cookies and 10-12 minutes for crisper cookies.*  This makes 2 dozen or so cookies, depending on size.  Keep them chilled, just like I've said before, to keep them from spreading or losing shape.  Your cookies come out PERFECT if you do this.  You may have to pop them in the freezer for 5 minutes after cutting them out if your kitchen is hot.

*If you are serving your cookies soon, then I recommend closer to the 7 min. mark.  If you are doing them in advance, like a week or two, then make them crisper and they will soften over the week or two in a sealed container on the counter.  I've done this many times.  They never taste "stale" or old.  Just as wonderful as you'd expect.

Decorate with your favorite frosting recipes as normal!  They're almost better than the chocolate cookies.  Just don't tell my husband. ;)


Check back soon for the chocolate ones.  I think I finally got the recipe right.

Have a delicious day!

Tuesday, April 19, 2011

Vegan Molasses Chai Cookies {Recipe}

I found this recipe in Comfort Cuisine for the Soul, a local church cookbook, and I thought, now this would be delish if turned into a vegan cookie!  There are several church members and friends of mine that eat vegan to promote a healthy, plant based lifestyle.  I myself am a vegetarian for the last few years which, with exercise, has allowed me to stop taking medication for my heart disease.  For those that don't know, vegans do not eat any animal products.  No meat, cheeses, butter, milk, eggs; not even in the fine print of packaged food. ~ Food companies can be very specific and crafty.  Whey, casein, etc. in the ingredients for instance mean the product contains milk. 

This cookie is very soft and reminiscent of gingerbread with less spice.  It could easily be decorated with royal icing to give it more pizazz.  So if you want some variety for the holidays use this recipe.  Even people who love their butter (me) loved this cookie.  I'll include the recipe as I made it this round, but next time I will decrease the sugar by half a cup*.  The cookies are naturally sweet and the frosting takes care of any extra sweetness needed.

Recipe:
COOKIES
1 cup vegan butter (Earth Balance, Veg. Shortening, homemade with coconut oil)
1 cup sugar*
1 cup molasses
5 cups unbleached flour
2 teaspoons baking soda
3 teaspoons ginger
pinch of cloves (no more than 1/8 teaspoon)
1/2 cup of strongly brewed Chai tea, cooled
1 teaspoon vanilla
FROSTING
3/4 cup powdered sugar
1 Tablespoon of vegan butter, melted
1 Tablespoon of vegan milk (I used regular almond milk)
1/2 teaspoon of vanilla
1/4 teaspoon of lemon extract

Cream butter and sugar until fluffy.  Beat in molasses.  Add dry ingredients alternately with the tea.  Mix well.  Add vanilla.  Chill overnight, or at least a few hours, rolled out between two sheets of wax paper.  Roll thin, about 1/8-1/4 inch and cut with cookie cutters.  Bake in preheated 375 degree oven 7-8 minutes.  Keep re-chilling the batter as needed to maintain shapes of cookies.  As they cool, make frosting by beating all ingredients until smooth.  Apply frosting by spreading with a spatula, or if you are as anal retentive as I, then put it in a piping bag.  Sprinkle sanding sugar on them for extra sparkle.
Prior to baking.
Right out of the oven.  They loose the puffy look as they cool.
Frosting.
Add sanding sugar for extra sparkle.
Or leave it off for a different look.
Try them.  They are tasty.

Tuesday, April 5, 2011

Spring! Celebrated with Chocolate Sugar Cookies

 Oh I love the warmer weather!  The flowers are scratching their way through winter's decay into the honey lit mornings.  The breeze carries the bouquet of hycinth mingled with fresh rain drops.  New life can be seen exploring, tasting the first rich green clovers of the season.  Spring brings new beginnings.  Also, new experimentations with sugar cookie recipes. 
Sweet baby bunny early in the morning!  Captured with Iphone.

Here was the first attempt with that!  Chocolate sugar cookies...with disco dust!  I won't post the recipe yet.  One, because I didn't write it down and I'm not sure I remember it.  Two, it needs another tweek or two. 

See how fun they look! 


I found a delightful place to order the disco dust offline, for cheap.  I've loved the possibilites with it since I first saw it on Marion's blog, Sweetopia.net.  She has lovely tutorials on how to use it.  The only things that bother me about it are: 1. It will get EVERYWHERE.  It ended up on a shirt and pants of my husband's and they weren't even in the room at the time.  2. It doesn't come off the cookie easily in the areas where you don't want it.  I wanted to preserve as much of the excess dust too and since it gets everywhere it was a bit of a lost cause.  That being said, I LOVE it. 

I put it on cakes and cupcakes first.  See... 

Just a shimmer!  I had to.  I'd just bought it!

Don't think you can tell well in the pic but it's sprinkled all over.

There are so many possibilities with sugar cookies.  I'm going to try several different flavors too.  Keep checking back to see how they turn out and to get the recipes yourself!